How to create unlocked Salesforce packages (with a namespace)
Unlocked Salesforce packages are very cool: it’s a package, you can update them, they can even have a namespace — however, your customers can look into your code and even modify it! They are ideal for quick-and-dirty MVP prototyping and custom implementations —but you can have the safety of package versions and the source of truth is always your master repo.
Create a project
First, create your SFDX project on your local machine. The easiest way to do this is to invoke the SFDX:Create Project command (CMD+SHIFT+P on Macs)
Second, you probably want to connect your dev environment to an org, so run SFDX: Authorize an Org. Visual Studio is buggy now, so you probably want not to use a scratch org for this purpose, but a dev org. (for some reason, the IDE can’t push code into scratch orgs. If you know, how to fix it, let me know in the comments!:) Try to write some code and run SFDX:Deploy This source to Org. Now you have metadata in your dev org.
Next, you are going to set the sfdx-project.json to make it a package:

What is important here: a package name (konny_pst) and the namespace, if you want a namespace (maybe you don’t want! We will return to this issue later).
Create a package
You can create a package with this command:
sfdx force:package:create — name konny_pst — packagetype Unlocked -r force-app
I assume here that you already have connected your dev-hub to SFDX. Note that we are creating an Unlocked package — so it is a package, but the users can read your code, and update it.
It is important that here you are not pushing any metadata, just register your package.

The command returned the package id of package (0Ho) — you will need it. If you type sfdx force:package:list, you can also get it back from your dev hub.
Push metadata / create a Version
Once you written some code, you are ready to push code and create a brand new unlocked package!
There is one thing missing: the package id from the project defintion. Open sfdx-project.json and adjust it like this:

See? I’ve added to the packageAliases the package id mapped with the name of the package (the id comes from the force:package:create or list command).
And now, we finally can push it! Use the sfdx force:package:version:create command with these parameters.


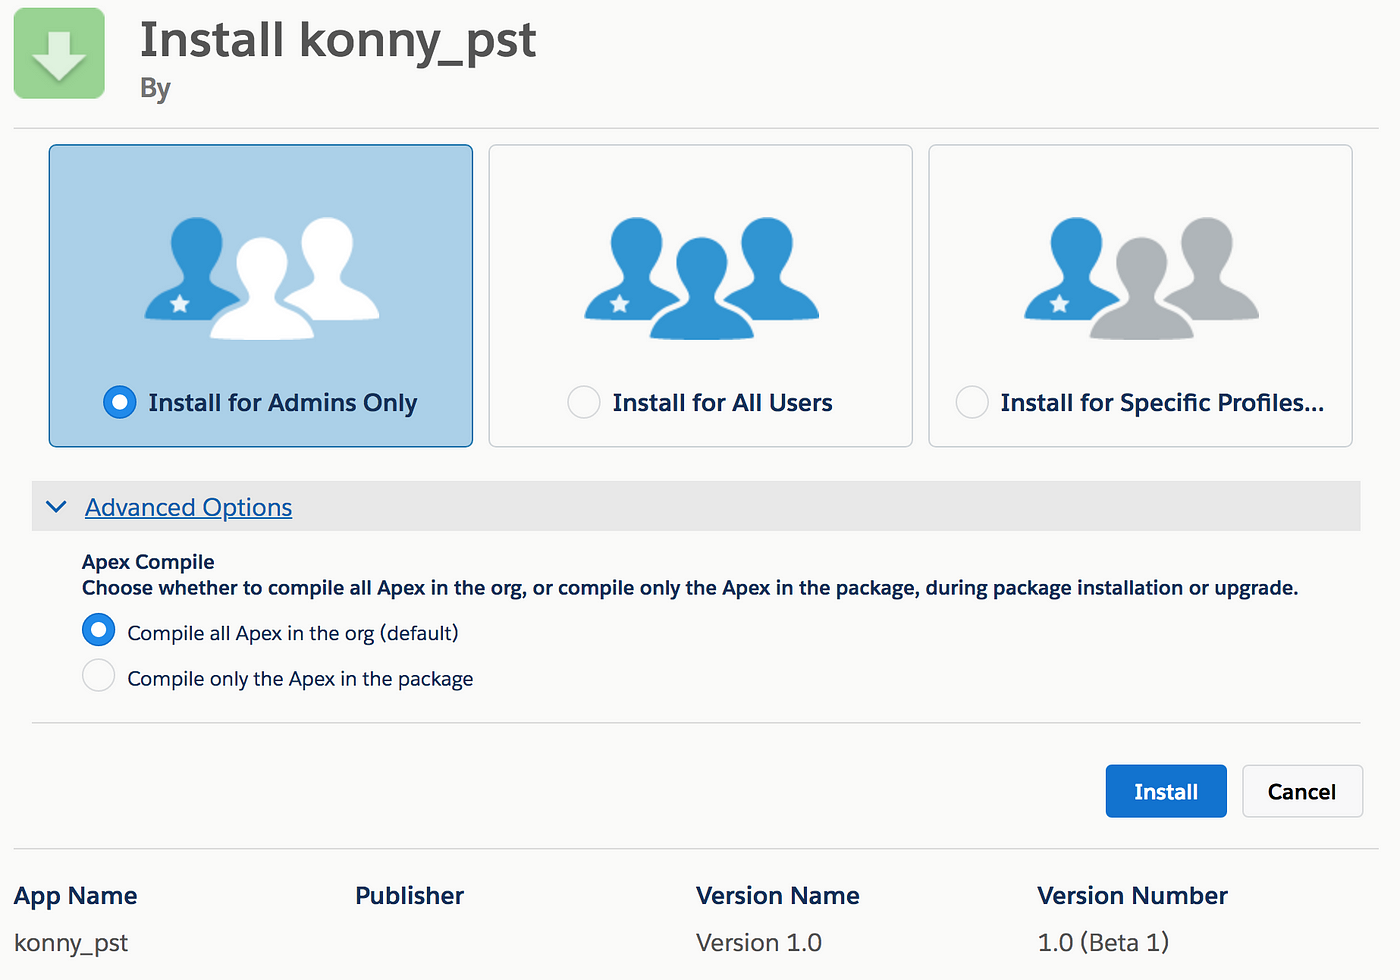
Your package is ready! You can install it to an org, using the returned URL.
The namespace issue
In this example I used my own unlocked namespace. In order to do so, you need to register your namespace in a new dev org and link your namespace to your dev hub. Follow these steps to do so. If you DON’T want to use a namespace, it’s also fine — just put an empty string to sfdx-project.json.
Sum it up
So, in order to register and push your unlocked package, follow the steps below:
- Create an sfdx-project.json with package name
- Register the name with package: force:package:create
- Adjust the sfdx-project.json with the package id
- Push metadata (upload the package) with force:package:version:create
That’s it! You can make it all from the command line. In the next step, we are going to build a fully automated git repo-based CI/CLI pipeline. Stay tuned!